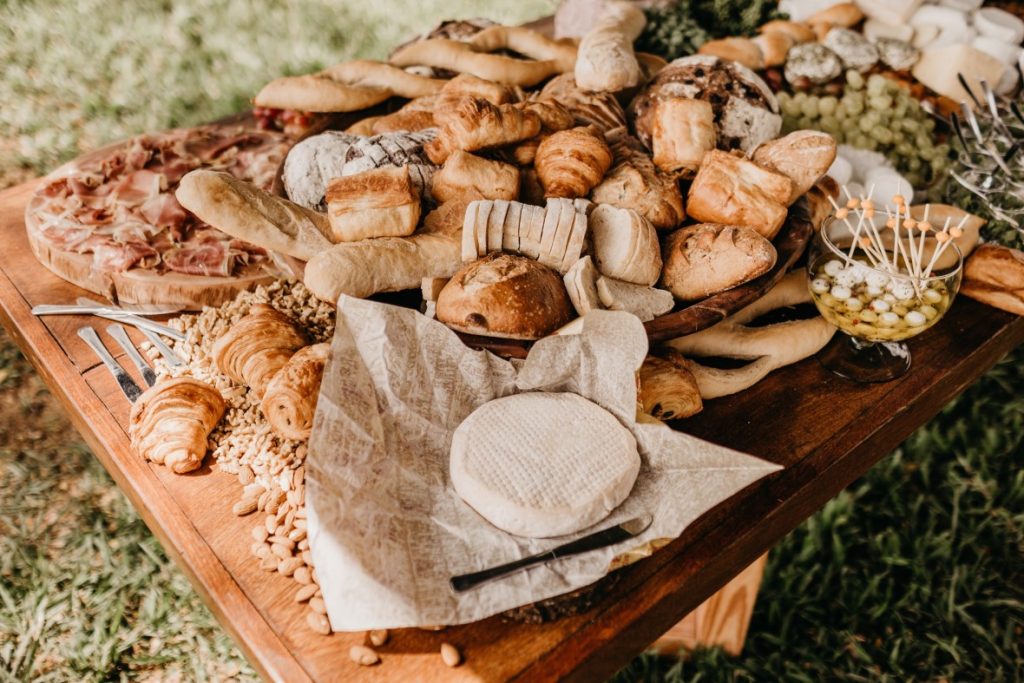
Bread Making is no rocket science. Lets explore some basic bread making techniques
Bread is something that we all eat almost every day but have you ever tried to make bread on your own? The usual answer is ‘no’ because we tend to believe that making bread is not every one’s cup of tea but on the contrary bread making methods are the easiest to follow. All the bread making techniques, more or less have the same ingredients but the only catch in bread making methods is in the sequence of adding the ingredients.
The basic ingredients that are required for bread making are easily available, these are
- Yeast: for raising the dough
- Flour: the base agent (white, whole wheat, nut; your choice!)
- Water: for binding
- Sugar: food for yeast
- Salt: taste enhancer
In the following methods, we use butter as an added ingredient, you could totally skip it depending on the bread. Also, addition of egg or garnishing crusts is also totally upon you! Different breads require different ingredients.
There are four types of bread making methods that are commonly used and that are very easy to follow. The types of bread making methods are:
- Straight dough method
- No-time dough method
- Delayed salt method
- Sponge and dough method
Using these methods, you can make almost all types of breads ranging from the basic white bread to the totally intricate French breads and dinner rolls.
The only thing one needs to do is to follow the recipe and the simple steps. Each type of bread has one special ingredient which makes it different.
Following are the basic steps that are common for all the methods and incorporate in the bread making process. These steps include
- Fermentation
- Knock back : to release carbon dioxide
- Molding or giving shape to the bread
- Baking.
So let’s get started!
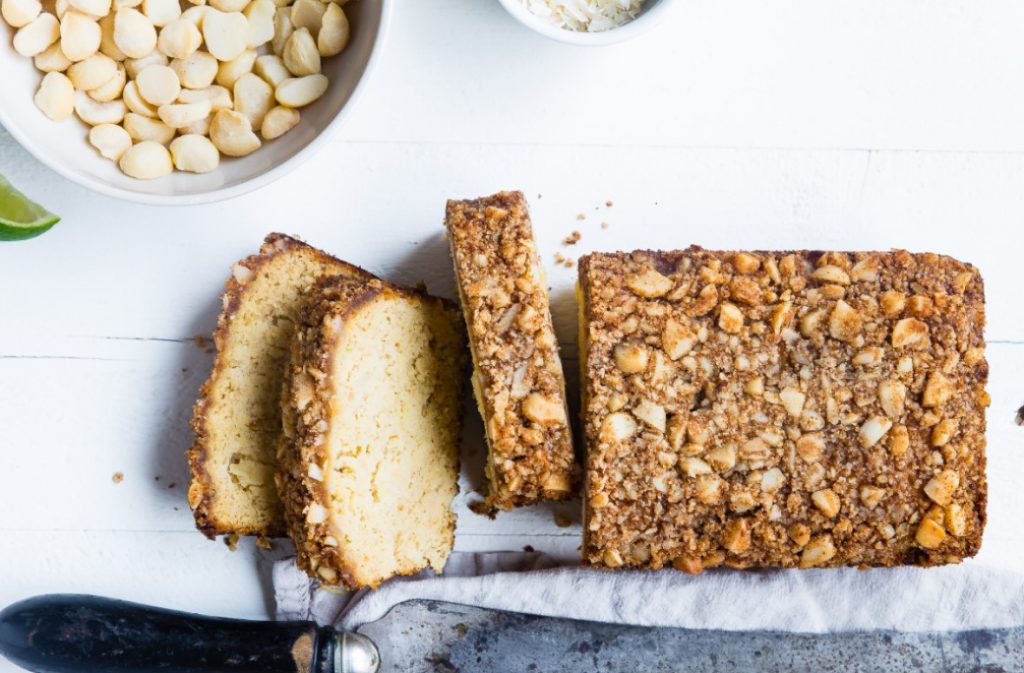
1. STRAIGHT DOUGH BREAD MAKING TECHNIQUE
The first and the most commonly used bread making technique is the straight dough method. The most commonly consumed breads like brown bread; white bread, milk bread etc. are prepared by this method.
The ingredients used in this method are:-
- Flour
- Yeast
- Sugar and salt
- Butter
- Water
Method:
- Sift flour and prepare two solutions, first being the sugar and salt solution, and later being yeast solution. Make sure to use little water to avoid having loose dough.
- Add both the solutions to the flour to make soft dough.
- Incorporate unsalted butter to the dough in the end
- Make a ball of it and put it in a greased bowl, cover it with a damp cloth and prove it in a warm place for 40 minutes.
This helps the dough to ferment better.
- Take it out, knock it and put it to ferment for another 20 minutes.
- Repeat it one more time.
- Shape the dough, prove for another 15 minutes
- Bake for 20-25 minutes at 200oC. Temperatures are important to check, missing which can lead to one of the common baking mistakes
- Cool it down, slice it and serve.
You need to remember that if you are using dry yeast, just add a bit of warm water and little sugar. Every type of yeast is used differently and thus needs different method of activation. Get more details on yeast and baking here
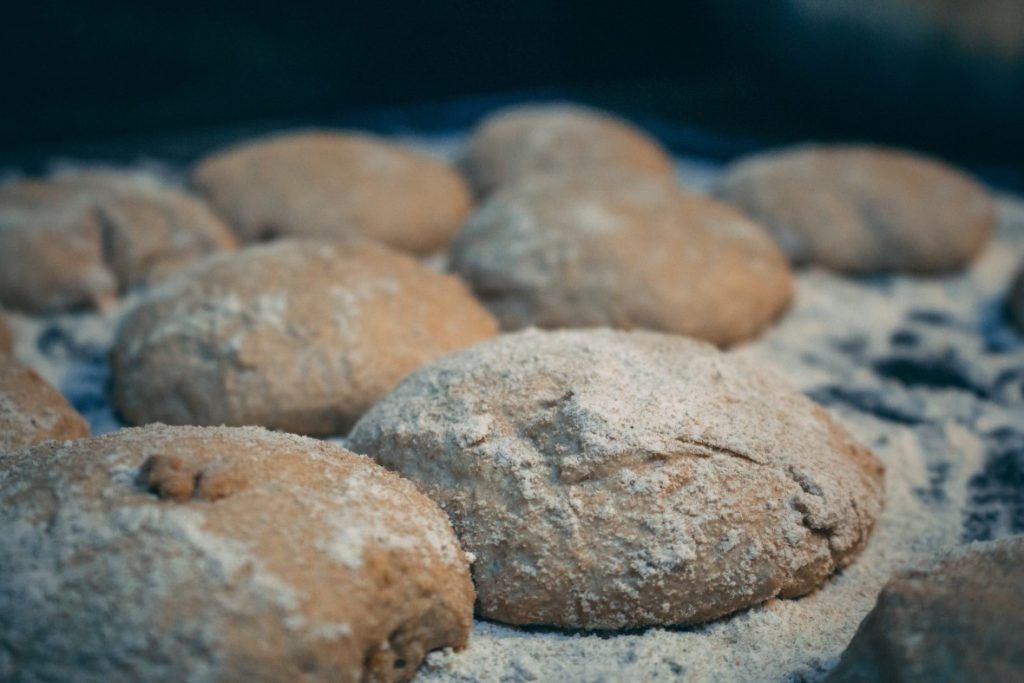
2. NO TIME DOUGH BREAD MAKING METHOD
As the name suggests, the time consumed in making the bread this way, is lesser than the other bread making methods. This is because in this method the fermentation time given to the dough is less than that in straight dough method simultaneously increasing the amount of yeast put in it.
So the dough is proved only once, for 40 minutes and then shaped.
INGREDIENTS:
- Flour
- Yeast
- Sugar and salt
- Butter
- Water
METHOD:
- Sift flour and make two solutions
- Add both the solutions to the flour to make soft dough.
- Cream the unsalted butter and incorporate it to the dough in the end
- Make a ball of it and put it in a greased bowl, cover it with a damp cloth and prove it in a warm place for 40 minutes.
- Shape the dough, prove for another 15 minutes
- Bake for 20-25 minutes at 200oC. Temperatures are important to check, missing which can lead to one of the common baking mistakes
- Cool it down, slice it and serve.
Suitable for hard breads, or for products with less or no sponge
Also, in this method it is necessary to mix the ingredients a bit faster so that the process of gluten formation gets fast. Though this method is faster, the taste here is compromised due to increase in the amount of yeast added; the taste might have a tinge of that yeast like flavor.
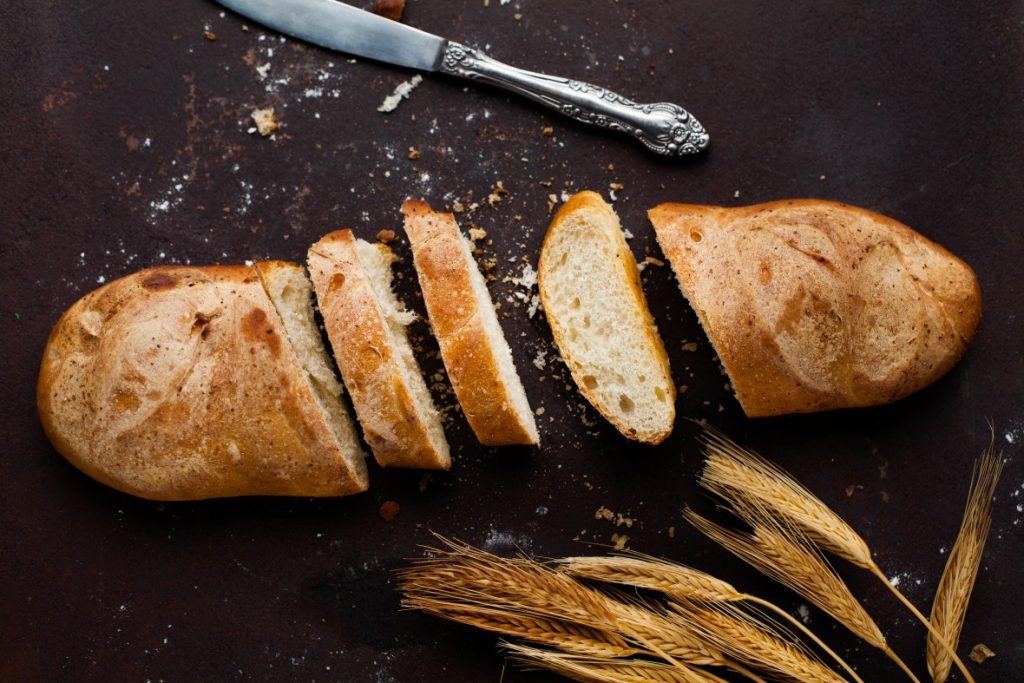
3. DELAYED SALT BREAD MAKING TECHNIQUE
This bread making technique is quite similar to the straight dough method but the difference is that in delayed salt method the salt is added later so that the fermentation goes on, because salt stops the action of yeast. In this method fat is also added in the later stage along with salt.
INGREDIENTS:
- Flour
- Yeast
- Sugar and salt
- Butter
- Water
Method:
- Sift flour and make two solutions
- Add both the solutions to the flour to make soft dough.
- Make a ball of it and put it in a greased bowl, cover it with a damp cloth and prove it in a warm place for 40 minutes.
- Take it out, knock it and put it to ferment for another 20 minutes.
- Repeat it one more time.
- Cream the butter, add salt to it and incorporate it in the dough.
- Shape the dough, prove for another 15 minutes
- Bake for 20-25 minutes at 200oC
- Cool it down, slice it and serve.
4. SPONGE AND DOUGH BREAD MAKING METHOD
In this bread making technique, the sponge and dough method is prepared in two stages.
- A pre-fermentation for sponge mixing
- A dough or final mixing stage.
Here’s the detailed method:
INGREDIENTS:
- Flour
- Yeast
- Sugar and salt
- Butter
- Water
METHOD
- Sift flour
- 70-90% of the total flour is mixed in water. Add yeast and lightly mix to incorporate the ingredients.
- Ferment the mixture.
- This sponge would be double the size. Knock it and add the remaining ingredients and dough is formed
- Bake for 20-25 minutes at 200oC. Once again, its important to note that temperatures are important to check, missing which can lead to one of the common baking mistakes
- Cool it down, slice it and serve.
As all breads have yeast in them, freshly baked breads might have that yeast- like smell. To get rid of it, leave the bread overnight and slice it the next day. By this time, the raw smell of yeast gets away and your bread is ready
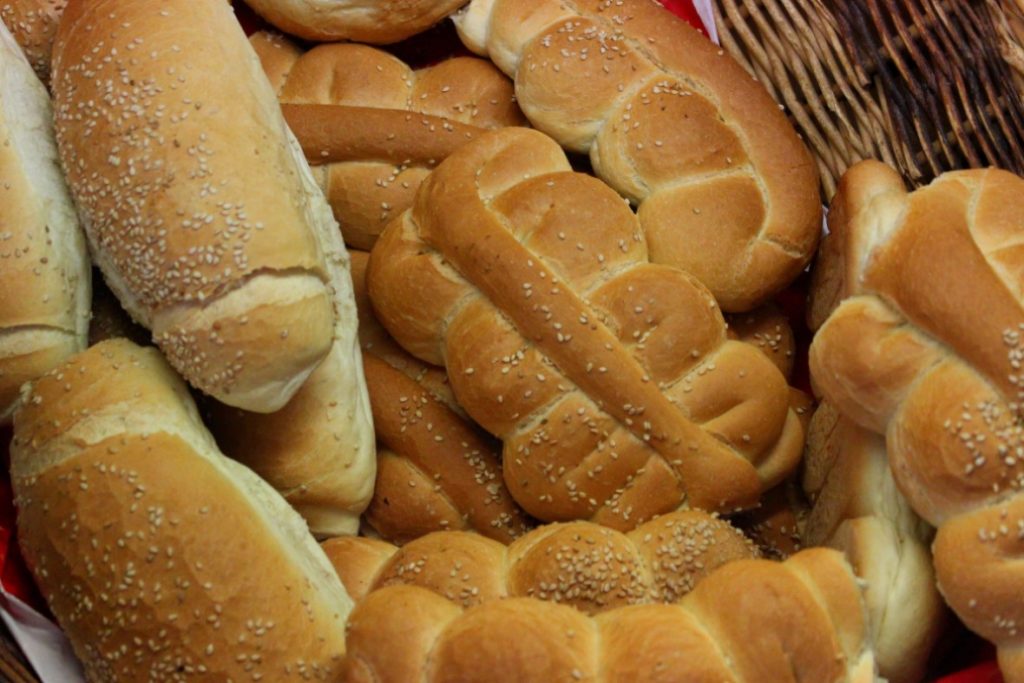
See, how easily you could make these lovely breads at home, with added goodness of homely touch and freshness beyond compare. All types of breads can be made using these bread making techniques, so let’s save on our pockets and gain on our health!

